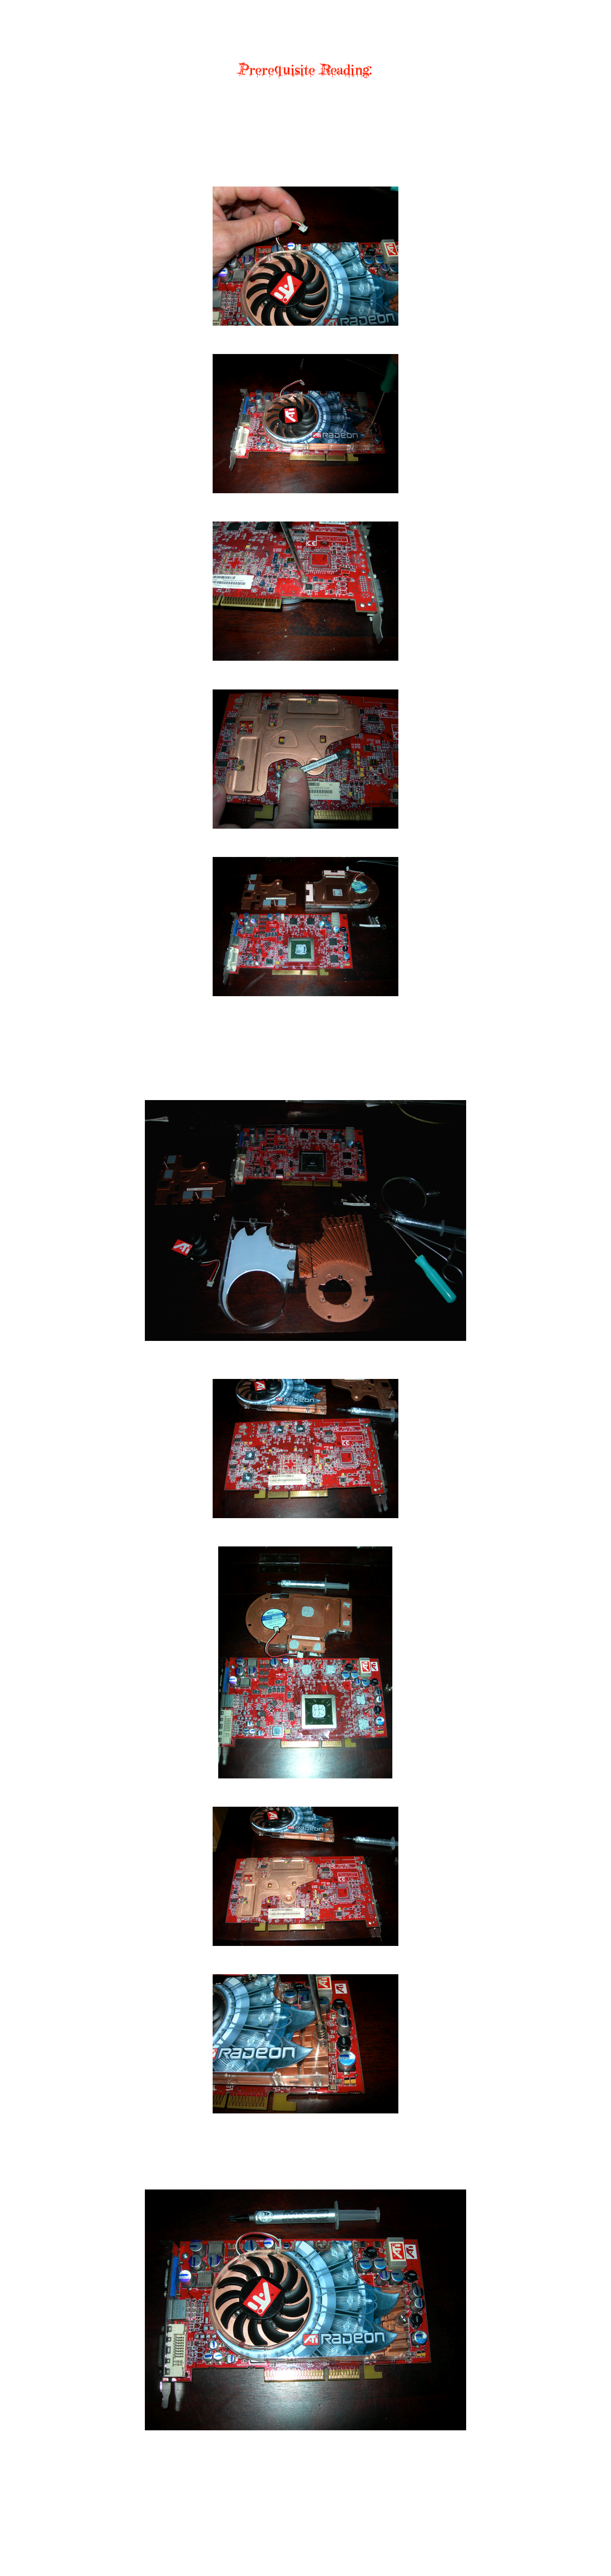
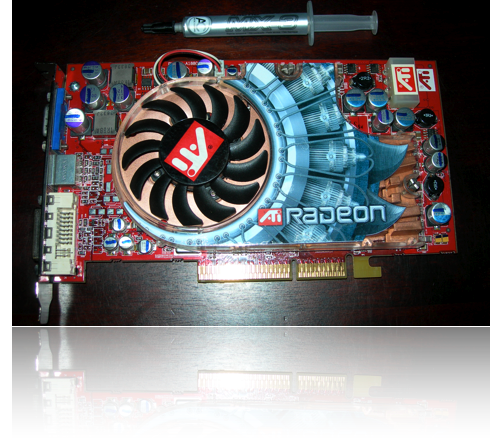
Radeon 9800 XT Disassembly


This article focuses on the Radeon 9800 XT.
The same procedure applies to Radeon X800 XT and Radeon X850 XT cards.


Prerequisite Reading:
Graphics Card Cleaning and Thermal Compound Replacement


After removing the graphics card from the machine, use compressed air and a soft, static free nylon brush to blow and brush dust and dirt off the entire board.
After this, remove the fan/heat sink assembly from the board.

1- Disconnect the power connector from the graphics board.
Forceps or needle nose pliers may help.


2- Using a #2 Philips screw driver, remove the screws holding the fan/heat sink assembly to the card.


3- Turn the card over, and remove the single screw from the rear.


4- Depress and rotate to remove the retaining bar.


5- Separate the back plate from the card, and remove the fan/heat sink assembly.


6- Thoroughly clean old thermal compound from all surfaces to which it is applied.
Complete cleaning of the card as per instructions in the “Graphics Card Cleaning and Thermal Compound Replacement” tutorial.

7- Proper cleaning of the fan/heat sink assembly may require removal of the plastic shroud.
Use a #1 Phillips screw driver to remove the several screws from the rear of the assembly.

8- Remove the fan to facilitate thorough cleaning.
Once completely disassembled and cleaned, your card should look something like this:


9- Reassemble the fan/heat sink assembly.

10- Place thermal compound on all card surfaces requiring it (GPU contact pad, VRAM chips).


Test fit and pull apart to check for adequate thermal compound volume.


11- Install the rear plate.


12- Carefully flip over, and install the fan/heat sink assembly.


13- Reattach and snug down the retaining screws with springs.

14- Flip the card back over and install the single screw and retaining bar.

15- Turn the card fan up and attach the fan power connector.

All done!

16196A0F-952B-47ED-A9F9-91F7B0ECA431.html16196A0F-952B-47ED-A9F9-91F7B0ECA431.htmlshapeimage_1_link_0shapeimage_1_link_1
Details, details, details....
Sunday, January 2, 2011